A common task when crawling and indexing a document in Watson Explorer Engine (WEX) is making changes to a document during the conversion process. The most common occurrence is needing to copy all the contents in the application-vxml document while making some changes to one or a few of those contents. To do this, there is a recursive copy template that can be used. I’ll show you how to apply it.
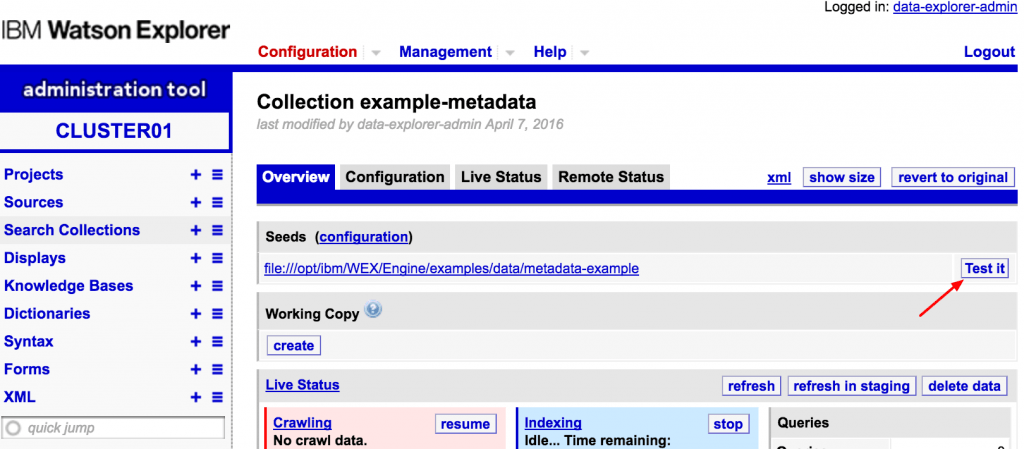
First, I’m going to use the out-of-box “example-metadata” collection. Navigate to that collection and click the test-it button.
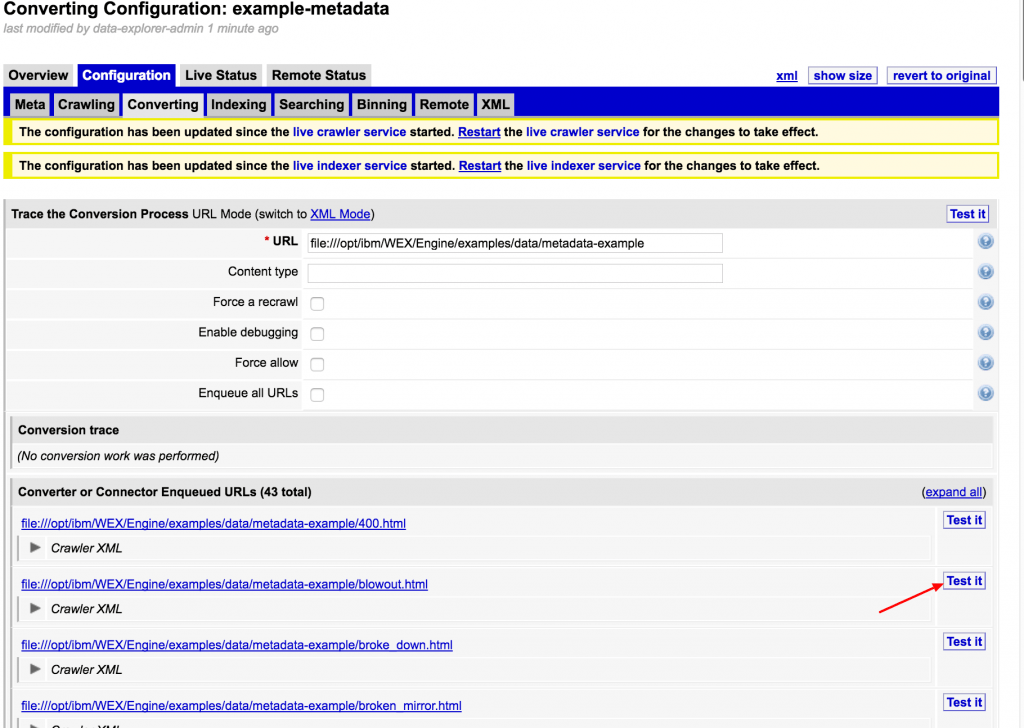
After clicking test-it you will see a listing of documents. Click on the test-it button for the “blowout” record.
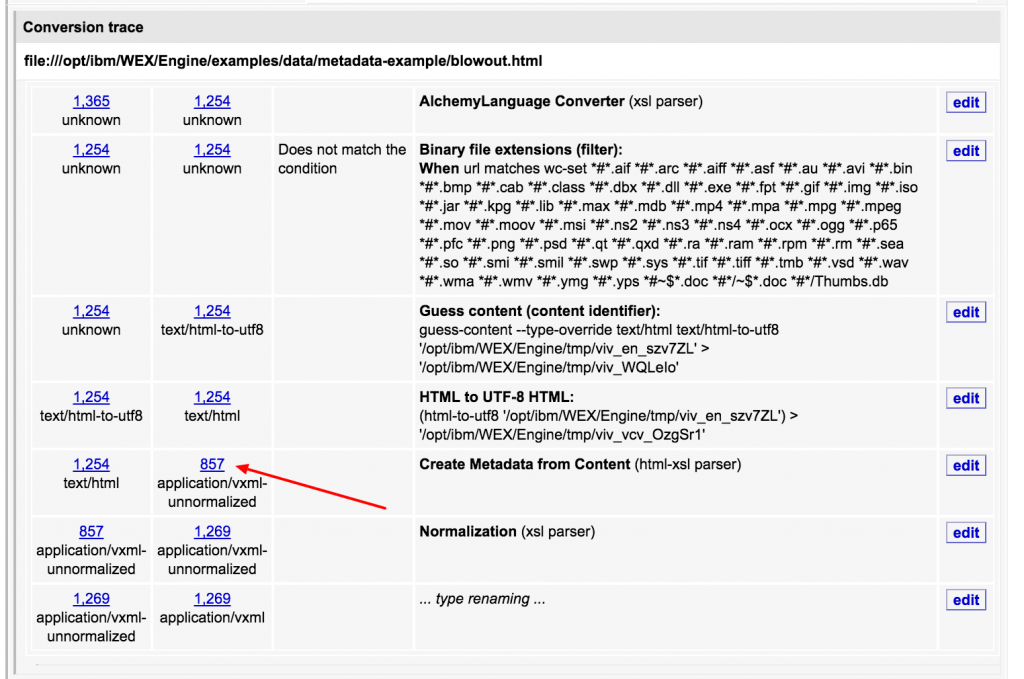
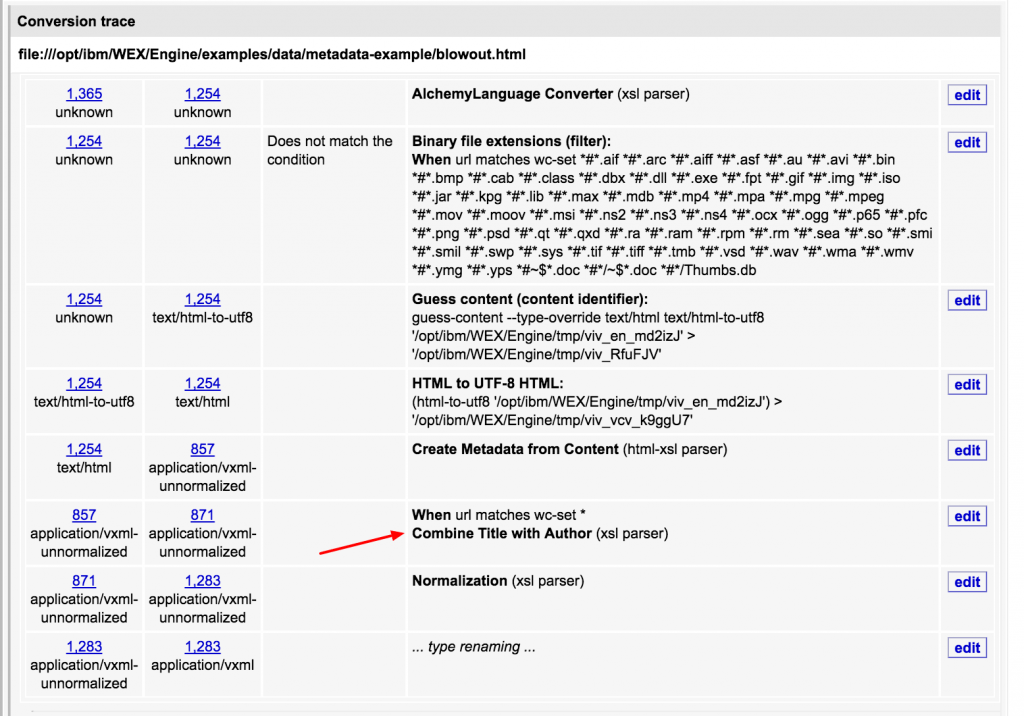
On the resulting page, scroll down and look at the conversion trace. There is a converter called “Create Metadata from Content”. This is the converter that ships with WEX to convert the HTML files into v:xml documents. Each of the links on the left side represent input and output of that conversion step. We want to click on the output of this converter to see what the document looks like.
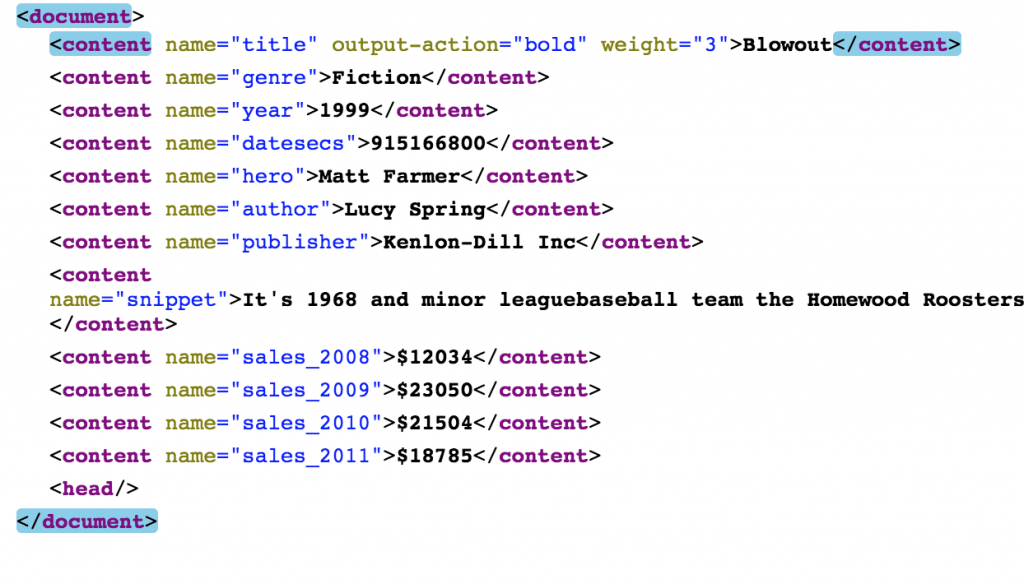
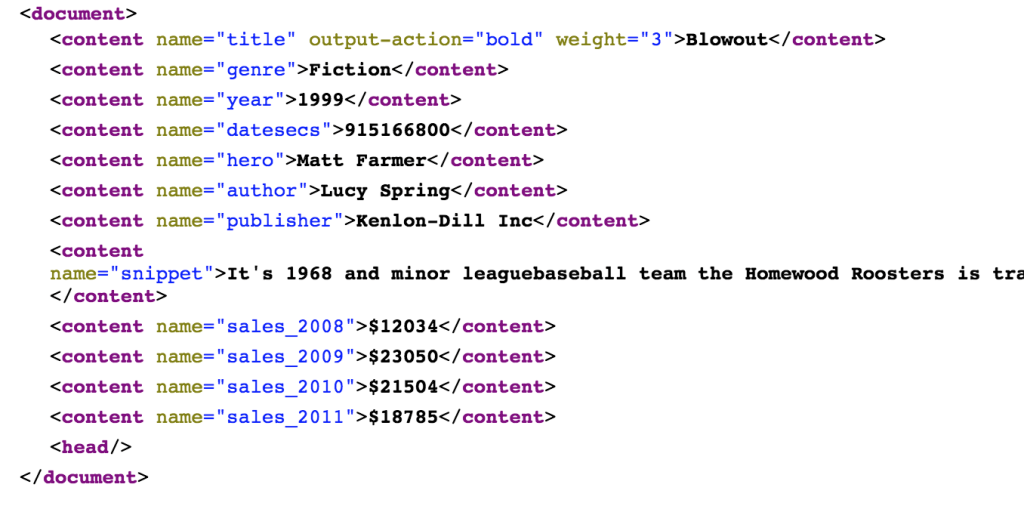
You will see the output of your current V:XML document. Note that I have a Google Chrome plugin that is converting my XML output for display.
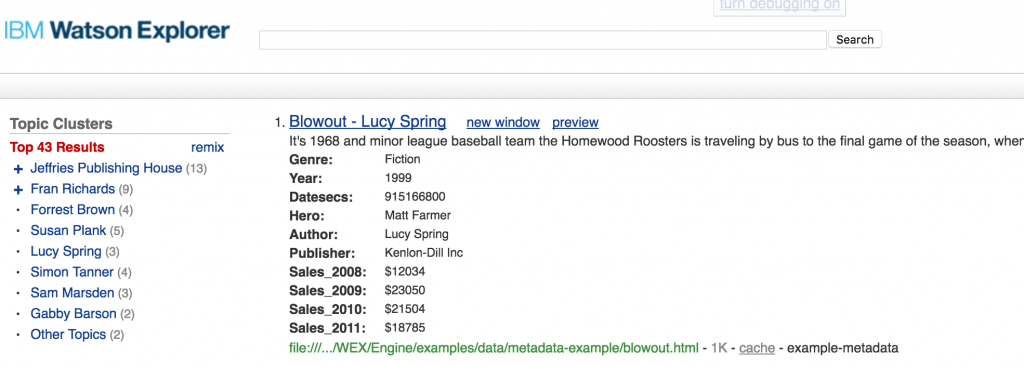
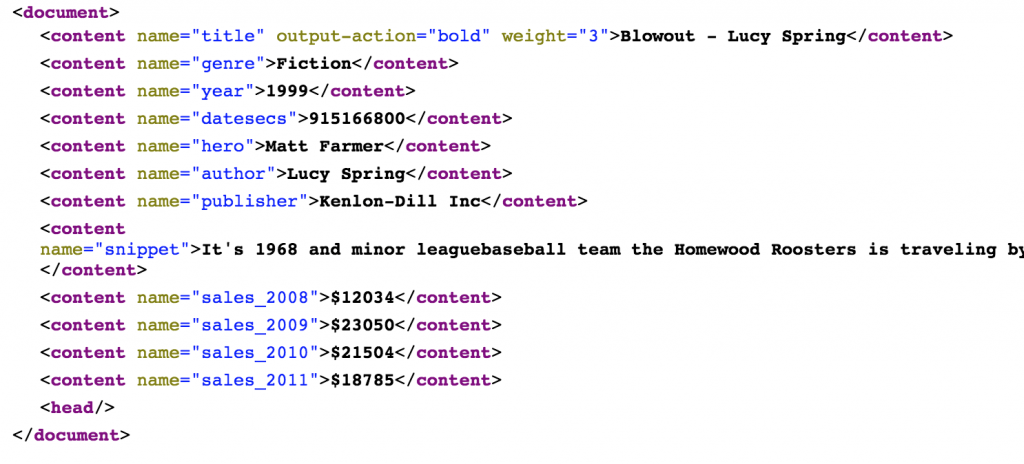
For the sake of this exercise, let’s change the title field to contain the actual title and the author. Like this: Blowout – Lucy Spring. To do this we go back to the previous page and click “add new converter” further down the page.

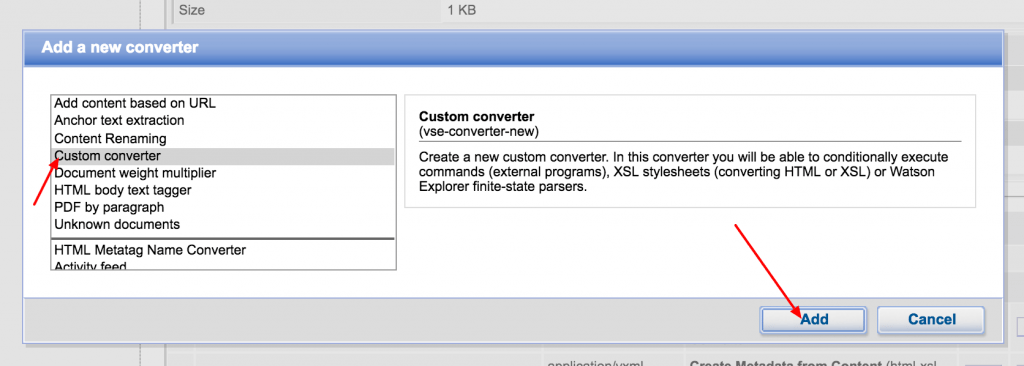
We want a custom converter
Now you will see the configuration screen for a custom converter
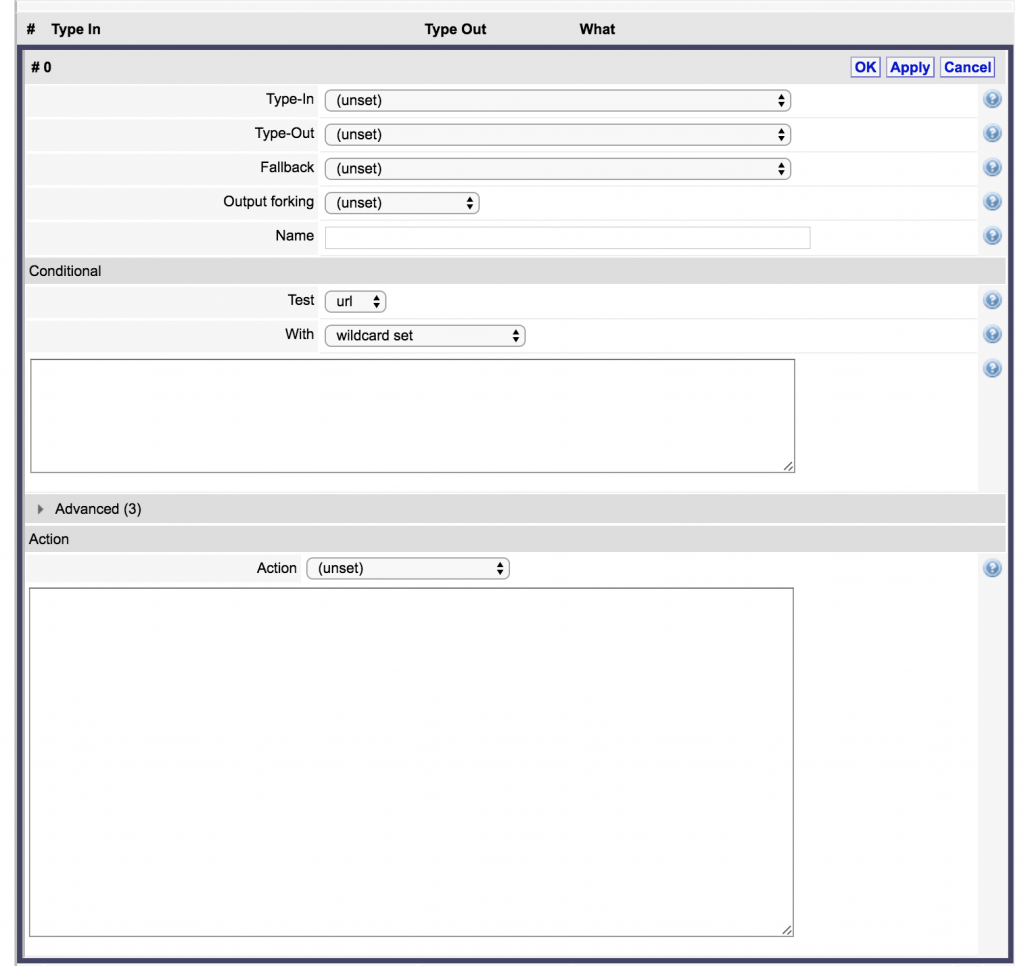 You want to set both the type-in and type-out to application/vxml-unnormalized as we want to apply this template to application/vxml-unnormalized and we will provide application/vxml-unnormalized as output. I use “unnormalized” because I want the normal WEX normalization functions to still apply after this transformation. Also give your converter a name.
The next section is the conditional setting. This is where you can determine the matches that will cause the converter to apply. In this case we want to match all so I just add a wildcard (*).
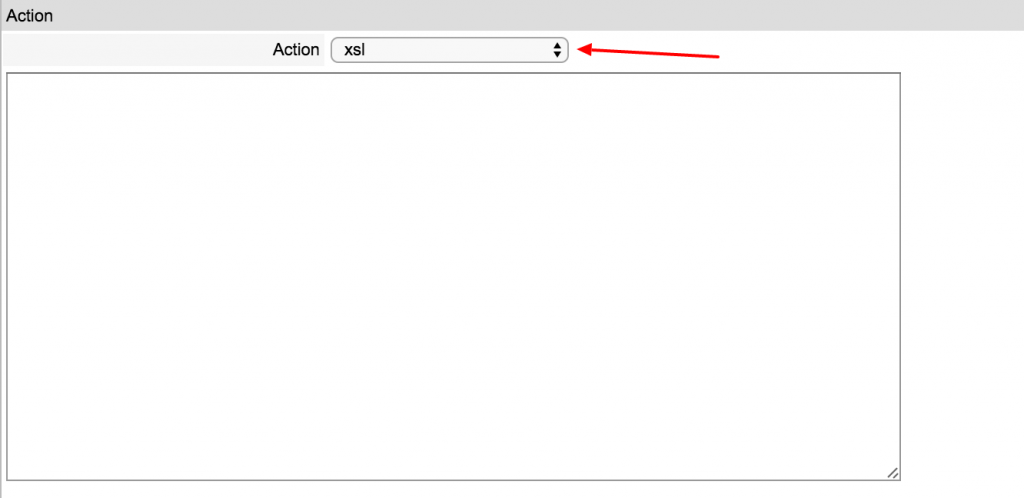
You can skip the advanced section and focus on the Action section. First, the needs to be set to XSL since we’re applying an XSL template to an XML document.
Now we’ll use a standard template that allows you to copy nodes with special processing.
<!-- Match the root, recur -->
<xsl:template match="/">
  <xsl:apply-templates select="." mode="copy" />
</xsl:template>

<!-- Specialty nodes go here -->

<!-- End specialty nodes -->

<xsl:template match="@* | text() | comment()" mode="copy">
  <xsl:copy />
</xsl:template>

<!-- Default action, keep recurring and copying -->
<xsl:template match="*" mode="copy">
  <xsl:copy>
    <xsl:apply-templates select="@*" mode="copy" />
    <xsl:apply-templates mode="copy" />
  </xsl:copy>
</xsl:template>
The template above will only copy the document if you run it this way. We want to modify this to merge our title and author by matching on the title content and copying some things.
<!-- Match the root, recur -->
<xsl:template match="/">
  <xsl:apply-templates select="." mode="copy" />
</xsl:template>

<!-- Specialty nodes go here -->

<!-- match the title content -->
<xsl:template match="content[@name='title']" mode="copy">

  <!-- create a new content node -->
  <content>
    <!-- copy all the attributes -->
    <xsl:copy-of select="@*" />

    <!-- copy the value of the current node (title) and add a dash and the author content value-->

    <xsl:value-of select="concat(.,' - ',//content[@name='author'])" />


  </content>

</xsl:template>

<!-- End specialty nodes -->

<xsl:template match="@* | text() | comment()" mode="copy">
  <xsl:copy />
</xsl:template>

<!-- Default action, keep recurring and copying -->
<xsl:template match="*" mode="copy">
  <xsl:copy>
    <xsl:apply-templates select="@*" mode="copy" />
    <xsl:apply-templates mode="copy" />
  </xsl:copy>
</xsl:template>
As you can see I’ve added comments in the code above. The important thing to note is that I want to modify the title content so I match it and the mode is always copy due to the way this template works. Then I just copy the attributes, and concat the two values I wanted.
Save this converter and click test-it again at the top of the Watson Explorer page. You will now see your new converter in the conversion trace.
Now if we check the input and output we’ll see the difference.
The before:
Now the title after:
Now if you crawl this collection your titles will include the author name in the search results.
