How do you create a WEX AppBuilder Pop Over? One thing that I see people trying to do is to replicate the pop-over light-box function of Watson Explorer AppBuilder. Most of the time the custom code that people create doesn’t seem to function the same as the out-of-box lightbox. Fortunately, there are some helper functions you can use to create a pop-over that is similar to the out-of-box WEX AppBuilder pop-over.
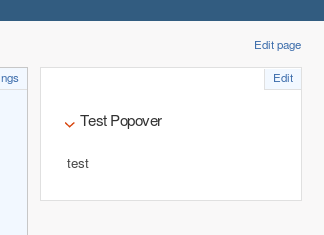
I started by creating a new widget on my search page. This widget will ultimately display a search syntax reference or something like that. For this demo I’m just going to put some test text in the pop-over. I should note that the dialog pop-over widget is a jQuery UI widget and is document here.
So create a new widget on the search page and drag it into the display.

Now I’m going to edit the pop-over to add the basic layout.
<div class="pop-over-link"><a href="#" class="show_syntax_ref">Search Help</a></div>

<div id="custom-pop-over" title="My Custom Pop Over" data-widget="custom_search_pop-over">
  <div class="inner">
    <p>This is my custom pop-over</p>
  </div>
</div>
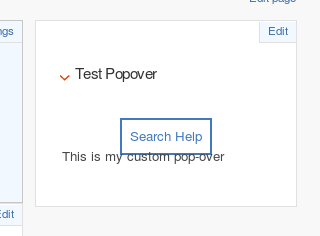
What I have above is a link that we will click on to open the pop-over followed by a div that is the container for the pop-over and some sample text. We will also add a width to the .inner div because there seems to be a bug with the width property of the dialog. This may be because AppBuilder overrides the default widget settings.
Now, I’ll add some CSS to style the button.
<style>
  .pop-over-link{
    text-align:center;
    margin-top:20px;
  }
  .pop-over-link a,.pop-over-link a:visited{
    padding:.6em;
    border: 2px solid #4178be;
  }
  .pop-over-link a:hover{
    padding:.6em;
    border: 2px solid #008571;
    color:#008571;
    text-decoration:none;
  }
  #custom-pop-over .inner{
    width: 800px;
  }
</style>
<div class="pop-over-link"><a href="#" class="show_syntax_ref">Search Help</a></div>

<div id="custom-pop-over" title="My Custom Pop Over" data-widget="custom_search_pop-over">
  <div class="inner">
    <p>This is my custom pop-over</p>
  </div>
</div>
Now, out button looks a little better. Don’t worry about the alignment with the paragraph, we’ll hide it anyway.

Now, we will initiate the dialog. with some settings. We also add a listener to the link so that it will open the pop-up.
<style>
  .pop-over-link{
    text-align:center;
    margin-top:20px;
  }
  .pop-over-link a,.pop-over-link a:visited{
    padding:.6em;
    border: 2px solid #4178be;
  }
  .pop-over-link a:hover{
    padding:.6em;
    border: 2px solid #008571;
    color:#008571;
    text-decoration:none;
  }
  #custom-pop-over .inner{
    width: 800px;
  }
</style>

<script>
$("[data-widget-id='sec_CDI_search_syntax_ref']").children("header").remove();

$(function() {
  $("#custom-pop-over").dialog({
    autoOpen: false,
    width: 800,
    height: 400,
    modal: true,
    draggable: false,
    resizable: false,
    closeOnEscape: true,
    overflow: "hidden",
    open: function (event, ui){
    },
    close: function() {
    }
  });

   $(".pop-over-link").click(function() {
    $("#custom-pop-over").dialog("open");
    $("#custom-pop-over").parent().css('cssText', 'left: 35% !important');
    return false;
  });

});
</script>
<div class="pop-over-link"><a href="#" class="show_syntax_ref">Search Help</a></div>

<div id="custom-pop-over" title="My Custom Pop Over" data-widget="custom_search_pop-over">
  <div class="inner">
    <p>This is my custom pop-over</p>
  </div>
</div>
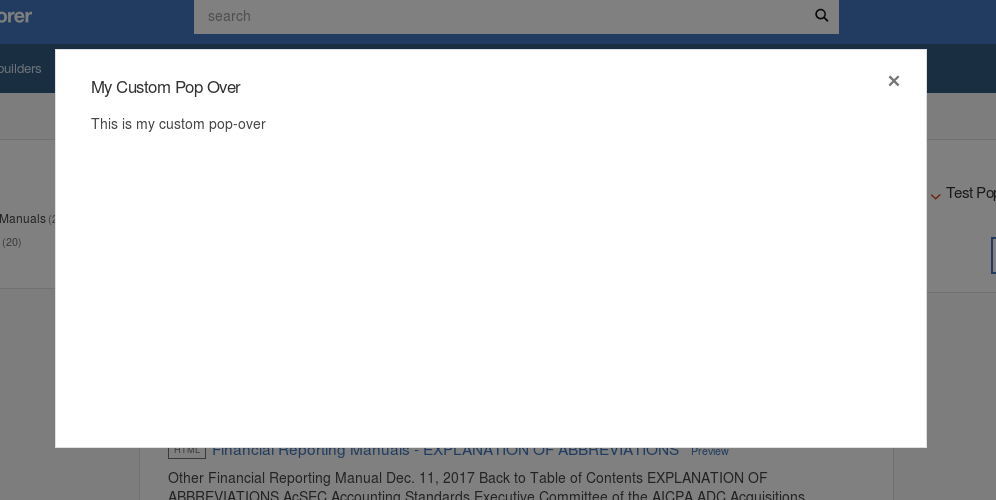
Now, when I click the link button I get a pop-over.

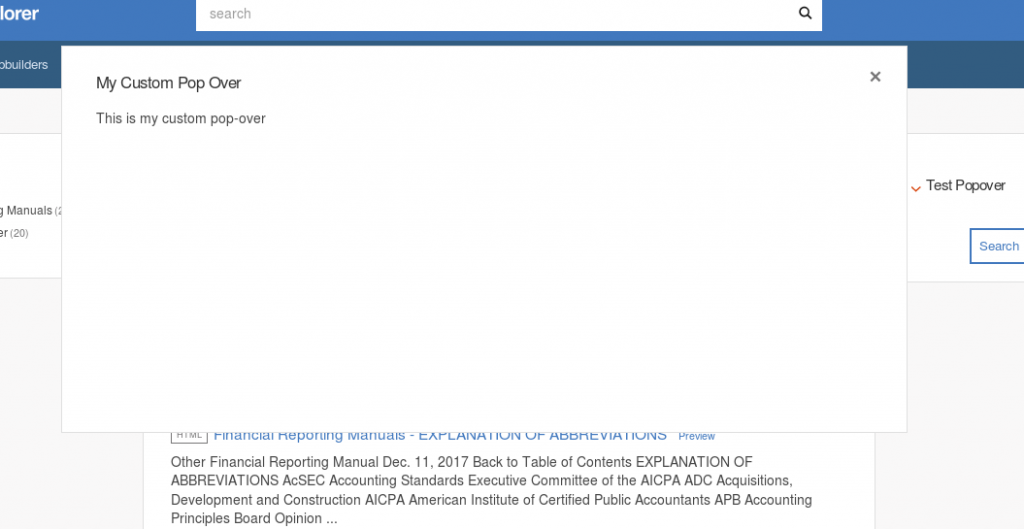
This might be fine for most people, but the out-of-box widget includes a nice black transparent overlay, so we will add that. Fortunately, AppBuilder has a helper function for that. We’ll modify the open parameter of the dialog call. We’ll also add some code to the close function to make sure the transparent overlay goes away when we close the widget.
<style>
  .pop-over-link{
    text-align:center;
    margin-top:20px;
  }
  .pop-over-link a,.pop-over-link a:visited{
    padding:.6em;
    border: 2px solid #4178be;
  }
  .pop-over-link a:hover{
    padding:.6em;
    border: 2px solid #008571;
    color:#008571;
    text-decoration:none;
  }
  #custom-pop-over .inner{
    width: 800px;
  }
</style>

<script>
$("[data-widget-id='sec_CDI_search_syntax_ref']").children("header").remove();

$(function() {
  $("#custom-pop-over").dialog({
    autoOpen: false,
    width: 800,
    height: 400,
    modal: true,
    draggable: false,
    resizable: false,
    closeOnEscape: true,
    overflow: "hidden",
    open: function (event, ui){
      $('div.overlay').click(function(){
        $("#custom-pop-over").dialog("close");
      });
      appBuilder.utilities.overlay.enable();
    },
    close: function() {
      $("#custom-pop-over").dialog("close");
      appBuilder.utilities.overlay.disable()
    }
  });

   $(".pop-over-link").click(function() {
    $("#custom-pop-over").dialog("open");
    $("#custom-pop-over").parent().css('cssText', 'left: 35% !important');
    return false;
  });

});
</script>
<div class="pop-over-link"><a href="#" class="show_syntax_ref">Search Help</a></div>

<div id="custom-pop-over" title="My Custom Pop Over" data-widget="custom_search_pop-over">
  <div class="inner">
    <p>This is my custom pop-over</p>
  </div>
</div>
Basically, we add the code to show the background. Then we add code to ensure the widget and overlay are both close when you click either on the transparent back ground or the X button.
Now your widget should look like this:

Conclusion – WEX AppBuilder Pop Over
I hope this helped you add a custom pop-over function that behaves like the out-of-box Watson Explorer App Builder pop-over. If you have any questions feel free to reach out in the comments.
